Installing Solr on CentOS 7
Today there will be a small instruction on how to install Solr on CentOS7
Installing Java
You can check if there is java on the server with one simple command
java -versionIf in response they send to ... and say that the system does not know what it is, then we execute the following command
sudo yum install lsof java-1.8.0-openjdk java-1.8.0-openjdk-develAfter that, the check should already show us which version of Java is worth.
Installing Apache Solr
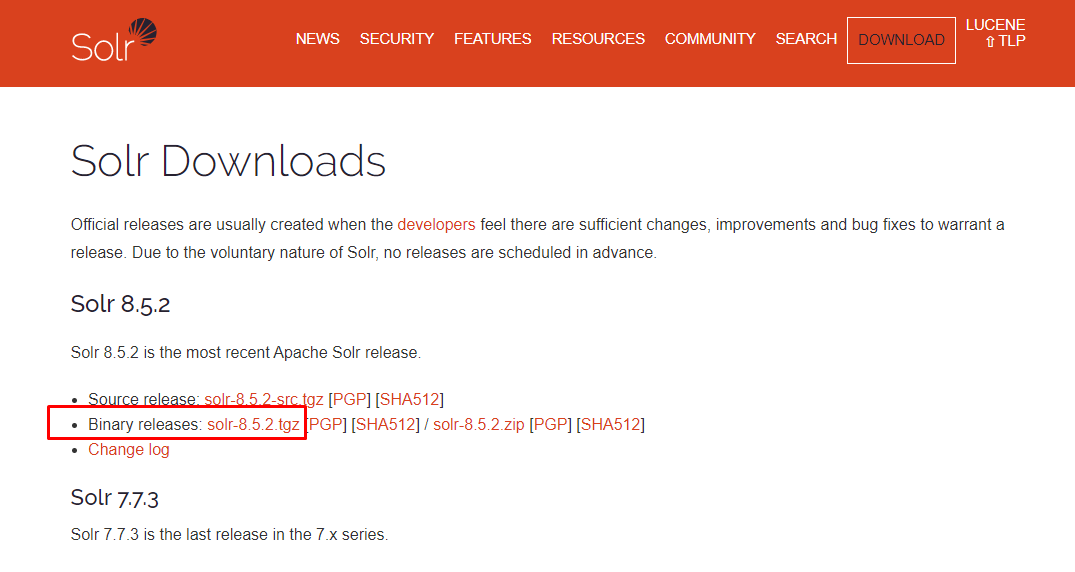
We go to the off. resource https://lucene.apache.org/solr/downloads.html and select the latest binary release

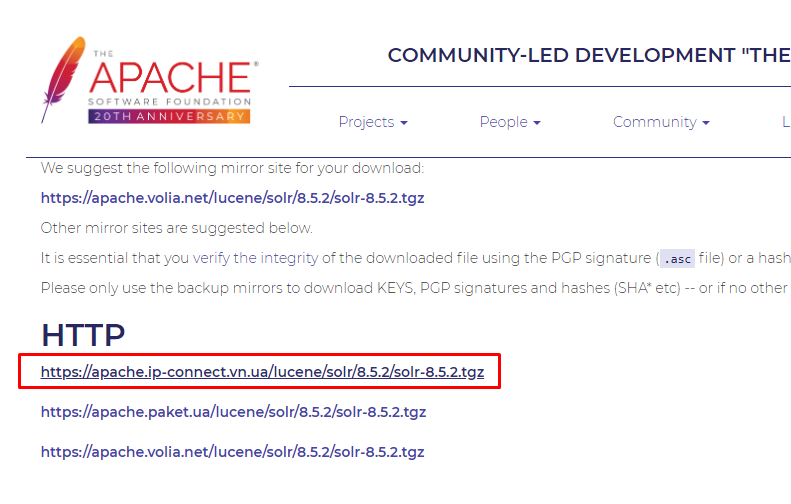
In the window that opens, copy the link to the archive

Going to the root, execute the command
curl -O https://apache.ip-connect.vn.ua/lucene/solr/8.5.2/solr-8.5.2.tgzThus, our archive will be downloaded, after which we unpack it into a folder with the name of the archive, go to the folder with the binary and run the installation script
tar xvf solr-8.5.2.tgzcd solr-8.5.2/bin/sudo ./install_solr_service.sh ~/solr-8.5.2.tgzAfter installation, we check that it was installed.
sudo systemctl status solrand enable its autorun
sudo systemctl enable solrWe open the port through which we will contact solr
sudo firewall-cmd --permanent --add-port=8983/tcpAt this step, we can get an error that the system does not know any firewll, in which case we need to install it
sudo yum install firewalld

sudo systemctl start firewalld
we can again get an error with a mask, execute
systemctl unmask --now firewalldand on a new start and turn on autostart + check the status
sudo systemctl start firewalld

sudo systemctl enable firewalld

sudo systemctl status firewalld
So, after installing firewalld, add a port and reload firewalld
sudo firewall-cmd  --permanent --add-port=8983/tcp

sudo firewall-cmd --reload
Now, when accessing the address http: // your_server_ip: 8983, the Solr control panel should open

After that, you can immediately add a new collection with which you will later need to work from the site (test_sol_base is a name for an example, you can name it at your discretion)
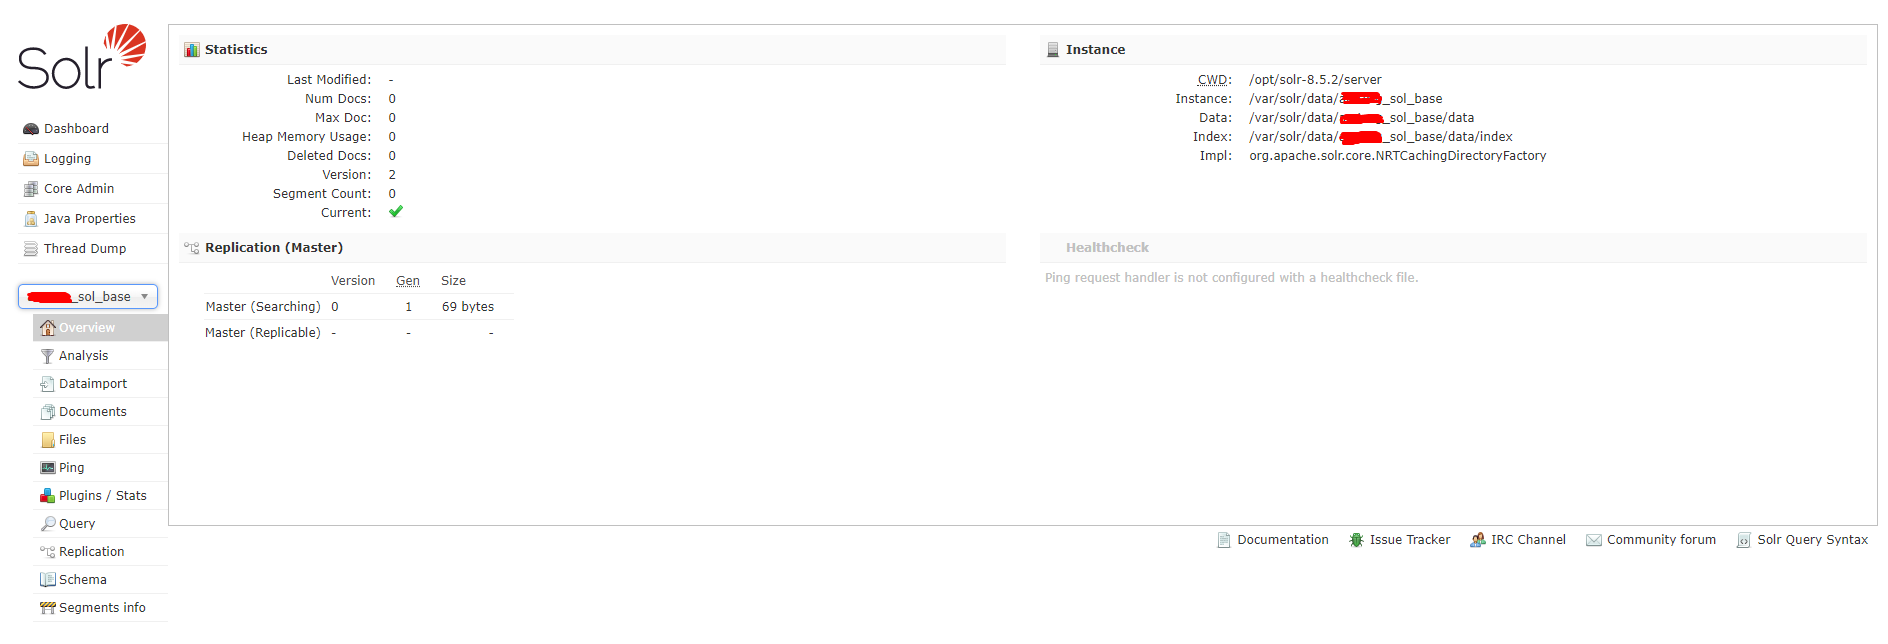
sudo su - solr -c "/opt/solr/bin/solr create -c test_sol_base -n data_driven_schema_configs"After that, in the admin panel, we will have a new collection with data about it
